
Kawasaki Super Sherpa | Kawasaki Versys 650 | Suzuki DR200 | Suzuki DR650 | Suzuki TU250X
|
|
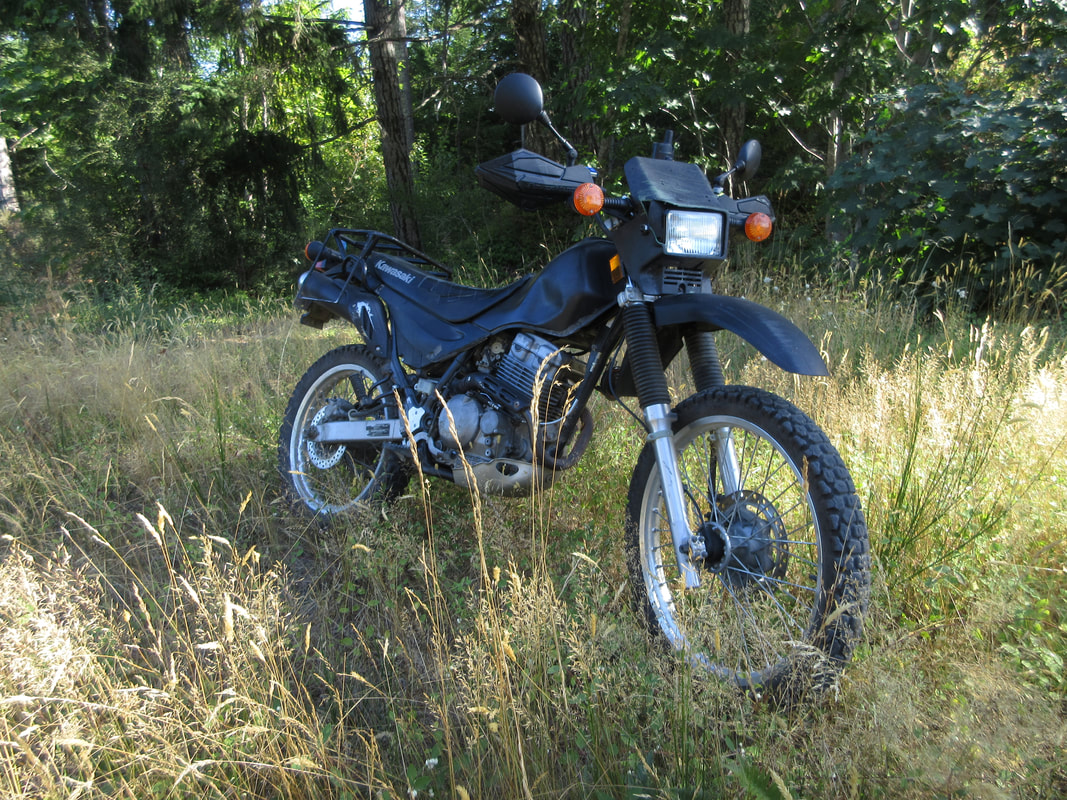
Kawasaki Super Sherpa
Last Updated: March 14, 2022 Status: Sold |
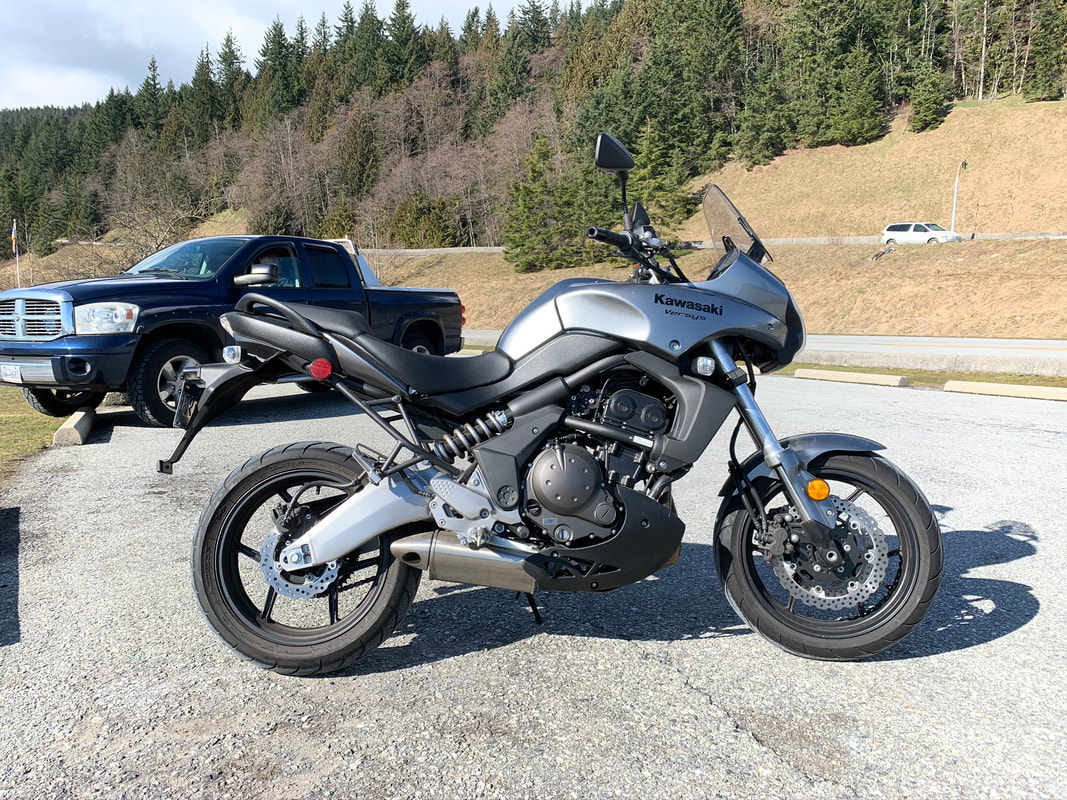
Kawasaki Versys 650
Last Updated: April 10, 2022 Status: Sold |

|
|

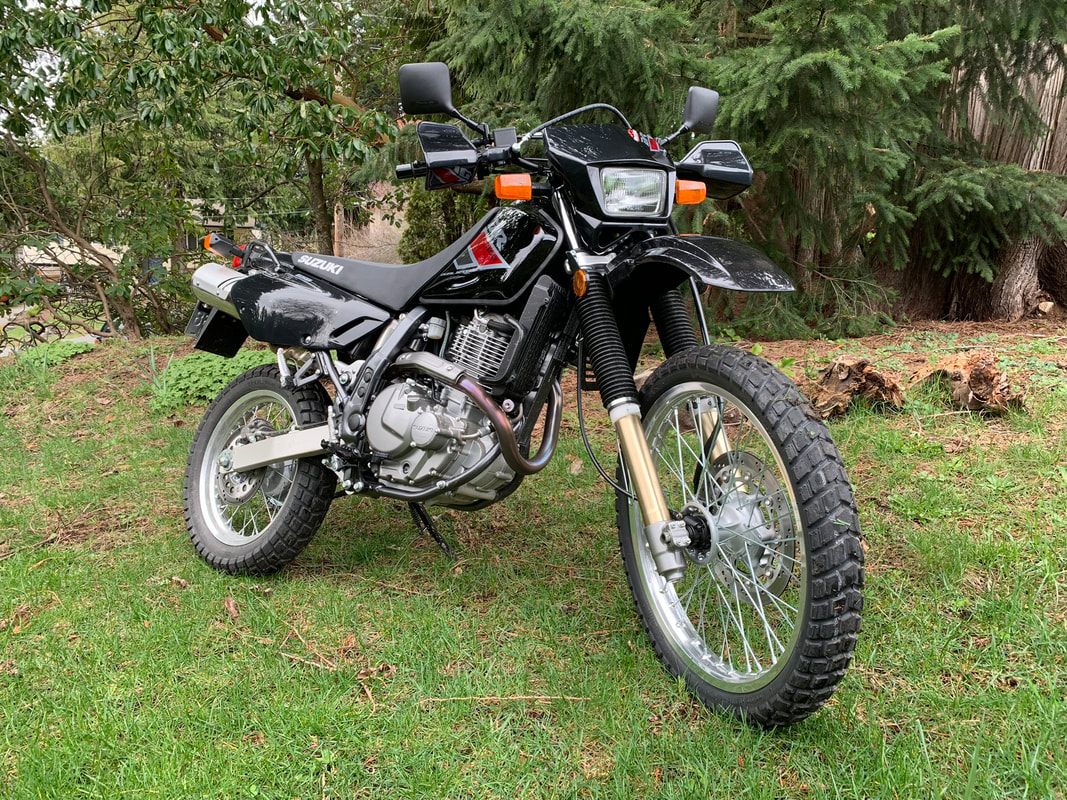
Suzuki TU250X
Last Updated: February, 2, 2022 Status: Sold |